Archero is a fun action-adventure game that gives you the ability to fight through challenging levels and take on powerful bosses. It offers a wide variety of characters to choose from, each with its own unique abilities. But as we mentioned in our previous Archero guide, you need a good strategy if you want to beat the mid-late game bosses.
One of the best ways to do this is by choosing the right hero for each chapter. That’s why we’ve put together this hero tier list to help you pick the best characters for any situation.
S-Tier (Outstanding)
- Stella
- Blazo
- Elaine
- Melinda
- Shingen
Stella
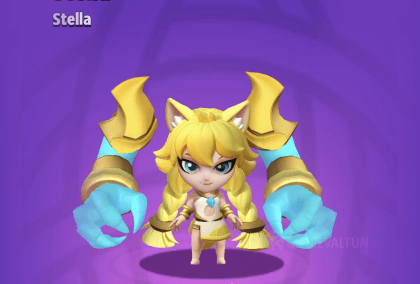
- Tier: S
- Base stats: Attack 225, Health 950
- Skill effect: Her skill offers strong weapon damage and knockback
- Additional Outfits: 1
- How to get: Premium
Pros of using Stella
- Has the highest base attack in Archero
- Great for clearing rooms
- Impressive AoE damage
Cons of using Stella
- The most expensive Archero hero so far
- Not so great in rooms with lots of walls
Blazo
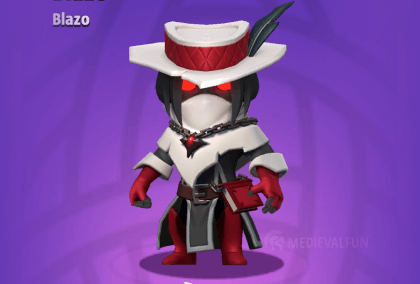
- Tier: S
- Base stats: Attack 200, Health 900
- Skill effect: Attacks have a chance to cast the Judged buff. Repeated hits inflict Justice, which greatly increases its own attack and reduces the enemy’s movement speed and attack. Enemies lose more HP when injured.
- Additional Outfits: 2
- How to get: Premium
Pros of using Blazo
- Can deal massive damage
- Has high base attack stats
- Powerful outfit stats
- Works great on bosses
- Fun to play with
Cons of using Blazo
- Very expensive
Elaine

- Tier: S
- Base stats: Attack 215, Health 900
- Skill effect: She gains an invincibility shield at intervals that also increases attack speed. When the shield fades, the attack is greatly increased.
- Additional Outfits: 3
- How to get: Shards
Pros of using Rolla
- Very high base attack and HP
- Great survivability
- Highest base stats among all F2P heroes
- Powerful outfit effects
Cons of using Rolla
- Her special ability has a slow spawn rate
- Not so great in PvP
Melinda
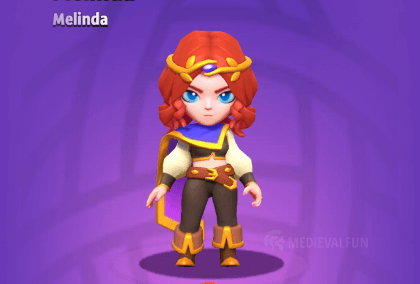
- Tier: S
- Base stats: Attack 200, Health 1000
- Skill effect: She has a chance to fire a projectile barrage with each attack. The lower the HP, the stronger the barrage.
- Additional Outfits: 3
- How to get: Premium
Pros of using Melinda
- Very high base attack
- The highest base HP from all heroes
- Good for progression
Cons of using Melinda
- Very expensive
Shingen

- Tier: S
- Base stats: Attack 200, Health 700
- Skill effect: High crit damage and attack
- Additional Outfits: 4
- How to get: Premium
Pros of using Shingen
- High base attack
- Rage damage scales when evolving
Cons of using Shingen
- Decreases the HP to increase damage
- Expensive
A-Tier (Excellent)
- Sylvan
- Shade
- Rolla
- Helix
- Bonnie
Sylvan
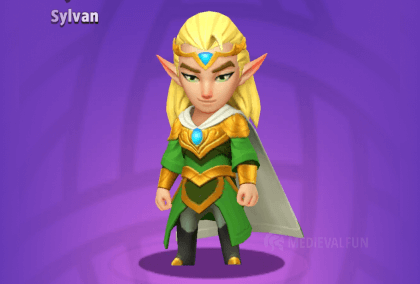
- Tier: A
- Base stats: Attack 160, Health 600
- Skill effect: Triggers a random elemental effect
- Additional Outfits: 4
- How to get: Premium
Pros of using Sylvan
- Instant effects on every hit
- Higher chance of getting better abilities
- Has a great mix of crowd control and damage
Cons of using Sylvan
- His special ability does not scale
- Expensive
Shade
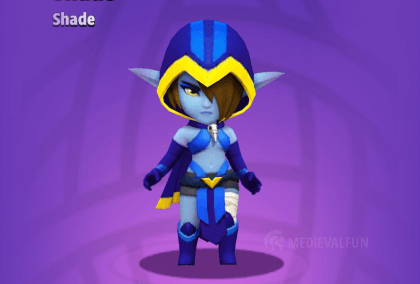
- Tier: A
- Base stats: Attack 160, Health 600
- Skill effect: Has different effects that switch automatically during battle. Real Self attacks have strong dark powers and deal continued damage, while Shadow Self offers increased attack speed and dodge rate.
- Additional Outfits: 3
- How to get: Premium
Pros of using Shade
- The shadow form offers dodge
- Excellent damage with high-tier abilities
- Great for targeting multiple enemies
Cons of using Shade
- Expensive
- Her Dark Touch ability is decreased by certain abilities
Rolla
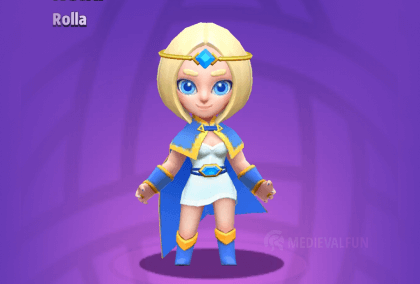
- Tier: A
- Base stats: Attack 170, Health 500
- Skill effect: Her attacks can freeze enemies for a longer time
- Additional Outfits: 2
- How to get: Premium
Pros of using Rolla
- Can be quite powerful if used properly
- Good for crowd control
- Can freeze enemies and slow down their movement speed
- Increased attack and dodge while wearing the second outfit
Cons of using Rolla
- Expensive for what she offers
- Her Freeze effect does not cause damage
- The Freeze effect’s duration is a bit short
- You rely heavily on high-tier abilities when using her
Helix
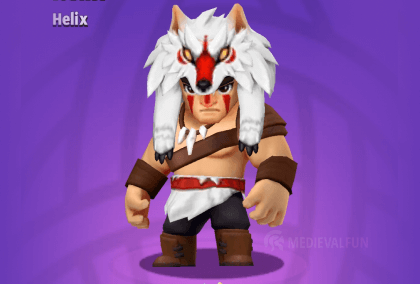
- Tier: A
- Base stats: Attack 125, Health 620
- Skill effect: Good damage on low HP
- Additional Outfits: 4
- How to get: 1500 Gems
Pros of using Helix
- His ability can scale with other abilities
- Can reach high damage output
- Very powerful in boss combat
- Ideal for certain events like Ancient Maze
- Shards are not that hard to get
Cons of using Helix
- Low base attack
- You must take a lot of damage to activate his ability
- Not the best option for farming easy chapters
Bonnie
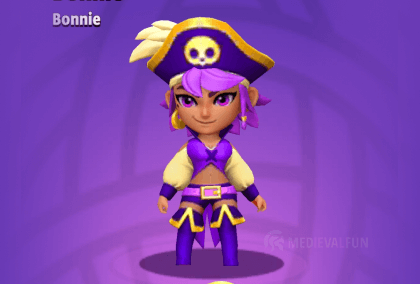
- Tier: A
- Base stats: Attack 150, Health 600
- Skill effect: Her attacks have a chance to summon a clone
- Additional Outfits: 2
- How to get: Premium
Pros of using Bonnie
- Clones can stack
- Her clones have a high spawn rate
- Good for crowd control
- Fun to play with
- Good on bosses that spawn minions
Cons of using Bonnie
- Clones attacks cannot go through walls
- Not the best choice for tough Chapters
- Not very effective against bosses in general
- Expensive for what she can offer
B-Tier (Good)
- Meowgik
- Ophelia
- Lina
- Phoren
- Iris
Meowgik
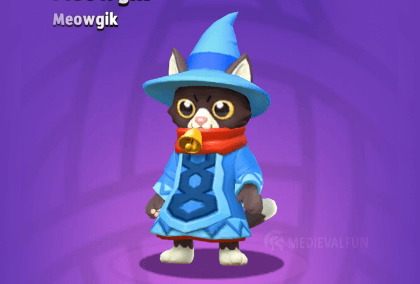
- Tier: B
- Base stats: Attack 135, Health 550
- Skill effect: Chance to spawn an auto-attacking kitty
- Additional Outfits: 4
- How to get: 1800 Gems
Pros of using Meowgik
- His ability has a decent spawn rate
- Strong special ability
- Powerful against bosses and minions
- Cats can go through walls and over lava and water
- Cats can also scale with rage and work with weapon effects
Cons of using Meowgik
- Some abilities reduce the attack power of cats
- Cat chance to crit is very low
- Not ideal for farming low-level chapters
Ophelia
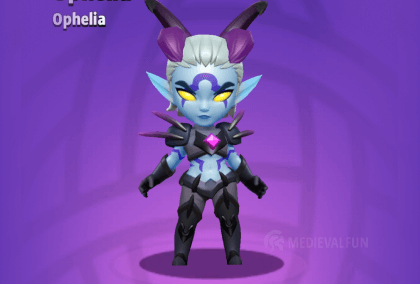
- Tier: B
- Base stats: Attack 160, Health 600
- Skill effect: Chance to suck and absorb enemy’s soul, increasing own strength
- Additional Outfits: 2
- How to get: Premium
Pros of using Ophelia
- Affordable price
- Great survivability with the Demon Shift outfit
Cons of using Ophelia
- You have to step on the scattered fragments to get the bonuses
- Steep learning curve
Lina
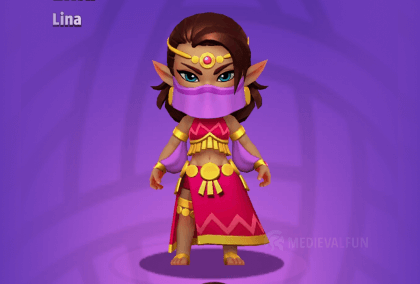
- Tier: B
- Base stats: Attack 180, Health 650
- Skill effect: Hitting an enemy deals extra damage and summons a phantom dancer who attacks enemies and causes a negative effect.
- Additional Outfits: 2
- How to get: Shards
Pros of using Lina
- Good base stats
- Effective special ability against bosses
Cons of using Lina
- Her clone’s attacks do not pass through walls
- Average melee damage
- Her attacks may interfere with certain abilities like Bloodthirst
Phoren
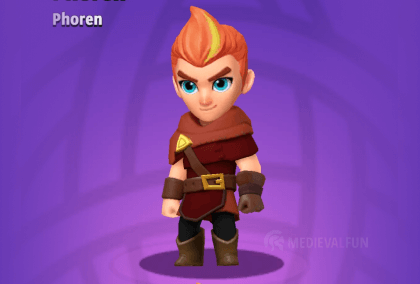
- Tier: B
- Base stats: Attack 130, Health 500
- Skill effect: His attacks have an enhanced Flame effect
- Additional Outfits: 2
- How to get: 50,000 Coins
Pros of using Phoren
- Deals fire damage to enemies
- Effective on bosses
- Can grant Crit chance to all heroes
Cons of using Phoren
- His ability does not scale with weapon modifiers
- Low base attack
Iris

- Tier: B
- Base stats: Attack 160, Health 950
- Skill effect: High movement speed and dodge. Each ranged attack has a chance to shoot an extra projectile
- Additional Outfits: 1
- How to get: Shards
Pros of using Iris
- Fast movement speed
- Ideal for farming low-level chapters
- Good damage output and defense
- Fun to play with
Cons of using Iris
- Not so great for boss fights in general
C-Tier (Average)
- Taranis
- Urasil
- Onir
- Gugu
- Ryan
Taranis
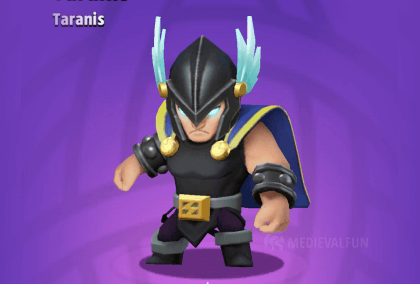
- Tier: C
- Base stats: Attack 130, Health 550
- Skill effect: His attacks have an enhanced Lightning effect
- Additional Outfits: 2
- How to get: 1000 Gems
Pros of using Taranis
- Powerful when combined with the right abilities
- Great for multitarget
- Has long range
Cons of using Taranis
- Does not deal damage to the initial target
- His damage output highly depends on large enemy groups
Urasil
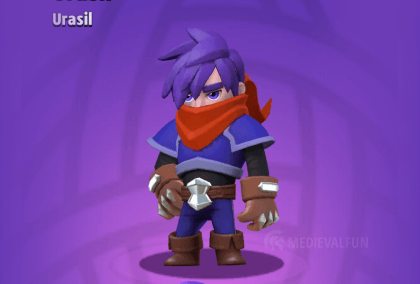
Is a flexible hero that can deal damage to all target types. To get the most out of his special ability, you should choose a kill like Ricochet to apply the poison effect to multiple enemies easily.
- Tier: C
- Base stats: Attack 120, Health 550
- Skill effect: His attacks have an enhanced Poison effect
- Additional Outfits: 2
- How to get: Coins
Pros of using Urasil
- Works great on hard-to-reach enemies
- The poison effect is permanent
- Removes one ability from the pool
Cons of using Urasil
- Venom does not apply on the first hit
- Slow damage rate
Onir
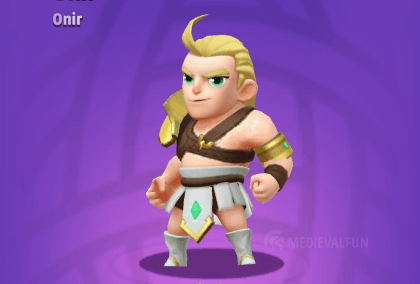
- Tier: C
- Base stats: Attack 140, Health 650
- Skill effect: His attacks have an enhanced Holy effect
- Additional Outfits: 2
- How to get: Premium
Pros of using Onir
- Decent range
- He deals instant damage that can scale with abilities
- He can it through walls
- Affordable price
Cons of using Onir
- Not so great on single targets and bosses
- Not the best special ability
Gugu
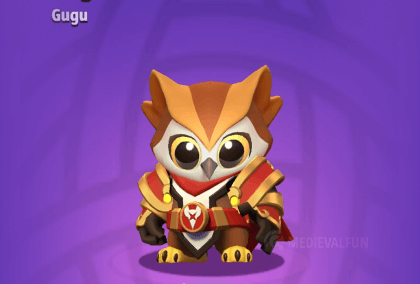
- Tier: C
- Base stats: Attack 160, Health 600
- Skill effect: Small chance to summon an owl guardian on hitting enemies. Owl guardians can resist damage and strengthen their hero
- Additional Outfits: 2
- How to get: Shards
Pros of using Gugu
- Good survivability
- Ideal for new players and low-level chapters
Cons of using Gugu
- Average damage output
Ryan

- Tier: C
- Base stats: Attack 150, Health 700
- Skill effect: Revives upon death with invincibility for 1s. The effect lasts longer based on the number of defeated monsters.
- Additional Outfits: 3
- How to get: Shards
Pros of using Ryan
- High survivability
- Good for farming low-level chapters
- Good damage on the first hit
Cons of using Ryan
- Average DPS
- Not ideal for boss fights
D-Tier (Weakest)
- Aquea
- Ayana
- Shari
- Bobo
- Atreus
Aquea
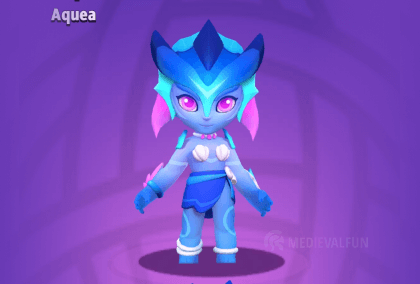
- Tier: D
- Base stats: Attack 180, Health 800
- Skill effect: Can freeze and slow down enemies
- Additional Outfits: 2
- How to get: Premium
Pros of using Aquea
- Good for crowd control
Cons of using Aquea
- Expensive
- Not ideal for mid-late game
- Below-average damage output
- There are better premium options
Ayana
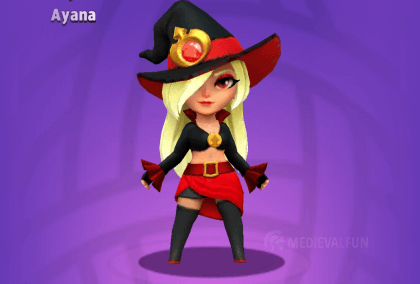
- Tier: D
- Base stats: Attack 160, Health 550
- Skill effect: Attacks can charm the enemy with a chance to summon a portal
- Additional Outfits: 3
- How to get: 2500 Gems
Pros of using Ayana
- Good crowd control and mobility
- Decent base stats
- Can be quite powerful with high Evolution
- Easy to obtain
Cons of using Ayana
- Her portals are unpredictable
- Low AoE damage
Shari

- Tier: D
- Base stats: Attack 135, Health 550
- Skill effect: Summons a thorned vine to attack enemies
- Additional Outfits: 1
- How to get: Shards
Pros of using Shari
- Spawns two thorns at a time
- Thorns have a high spawn rate
- She’s good against stationary targets
Cons of using Shari
- Other heroes perform much better
- Thorns have a high miss rate and low attack speed
- Her thorns can only attack 3 times before vanishing
- Not so great on multitarget
Bobo

- Tier: D
- Base stats: Attack 160, Health 700
- Skill effect: Increases leveling speed. Attack increases with the level in a chamber
- Additional Outfits: 1
- How to get: 4000 Gems
Pros of using Bobo
- Good for progression
- Relatively easy to obtain
Cons of using Bobo
- Weak damage output
- Not ideal for late-game
Atreus
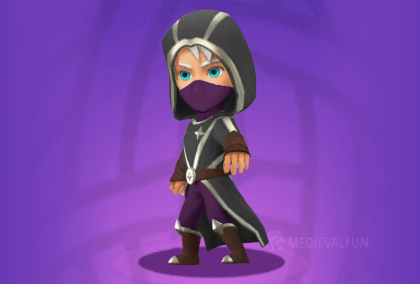
- Tier: D
- Base stats: Attack 150, Health 600
- Skill effect: None
- Additional Outfits: None
- How to get: Included by default
Pros of using Atreus
- It’s free
Cons of using Atreus
- No Outfits
- No special ability
- Very low attack power
